I’m still happily knitting away on my Conviviality Cardigan, and it’s got me thinking about the art of pattern management. How do we keep track of our place in a pattern? And how do we manage when a pattern asks us to, gulp, do multiple thing at the same time?
Photo Credit: Jesse Wild
The Conviviality Cardigan yoke, for instance, asks you to keep track of a few things at once: you need to maintain the lace patterning on your front edges and raglan, while also working sleeve increases, front shaping and raglan increases — the latter two or three of which (depending on your size) change rates over the knitting of the yoke. It’s worth taking a second to understand why a pattern would ask you to do this (it’s not just to test your ability to multitask)!
The front edge increases start off rapidly, then slow down … this gives the cardigan an attractive v-neck opening that resolves into gently overlapping fronts (and ensures you don’t end up with an open front cardigan that doesn’t actually cover your chest — I’ve knit one of those and never wear it!). The raglan and for many of the sizes, sleeve, increases do the opposite … begin more spaced out, and then occur closer together. This creates raglan lines that, rather than cut in a straight diagonal across the upper body, gently curve around the underarm, providing a better fit.
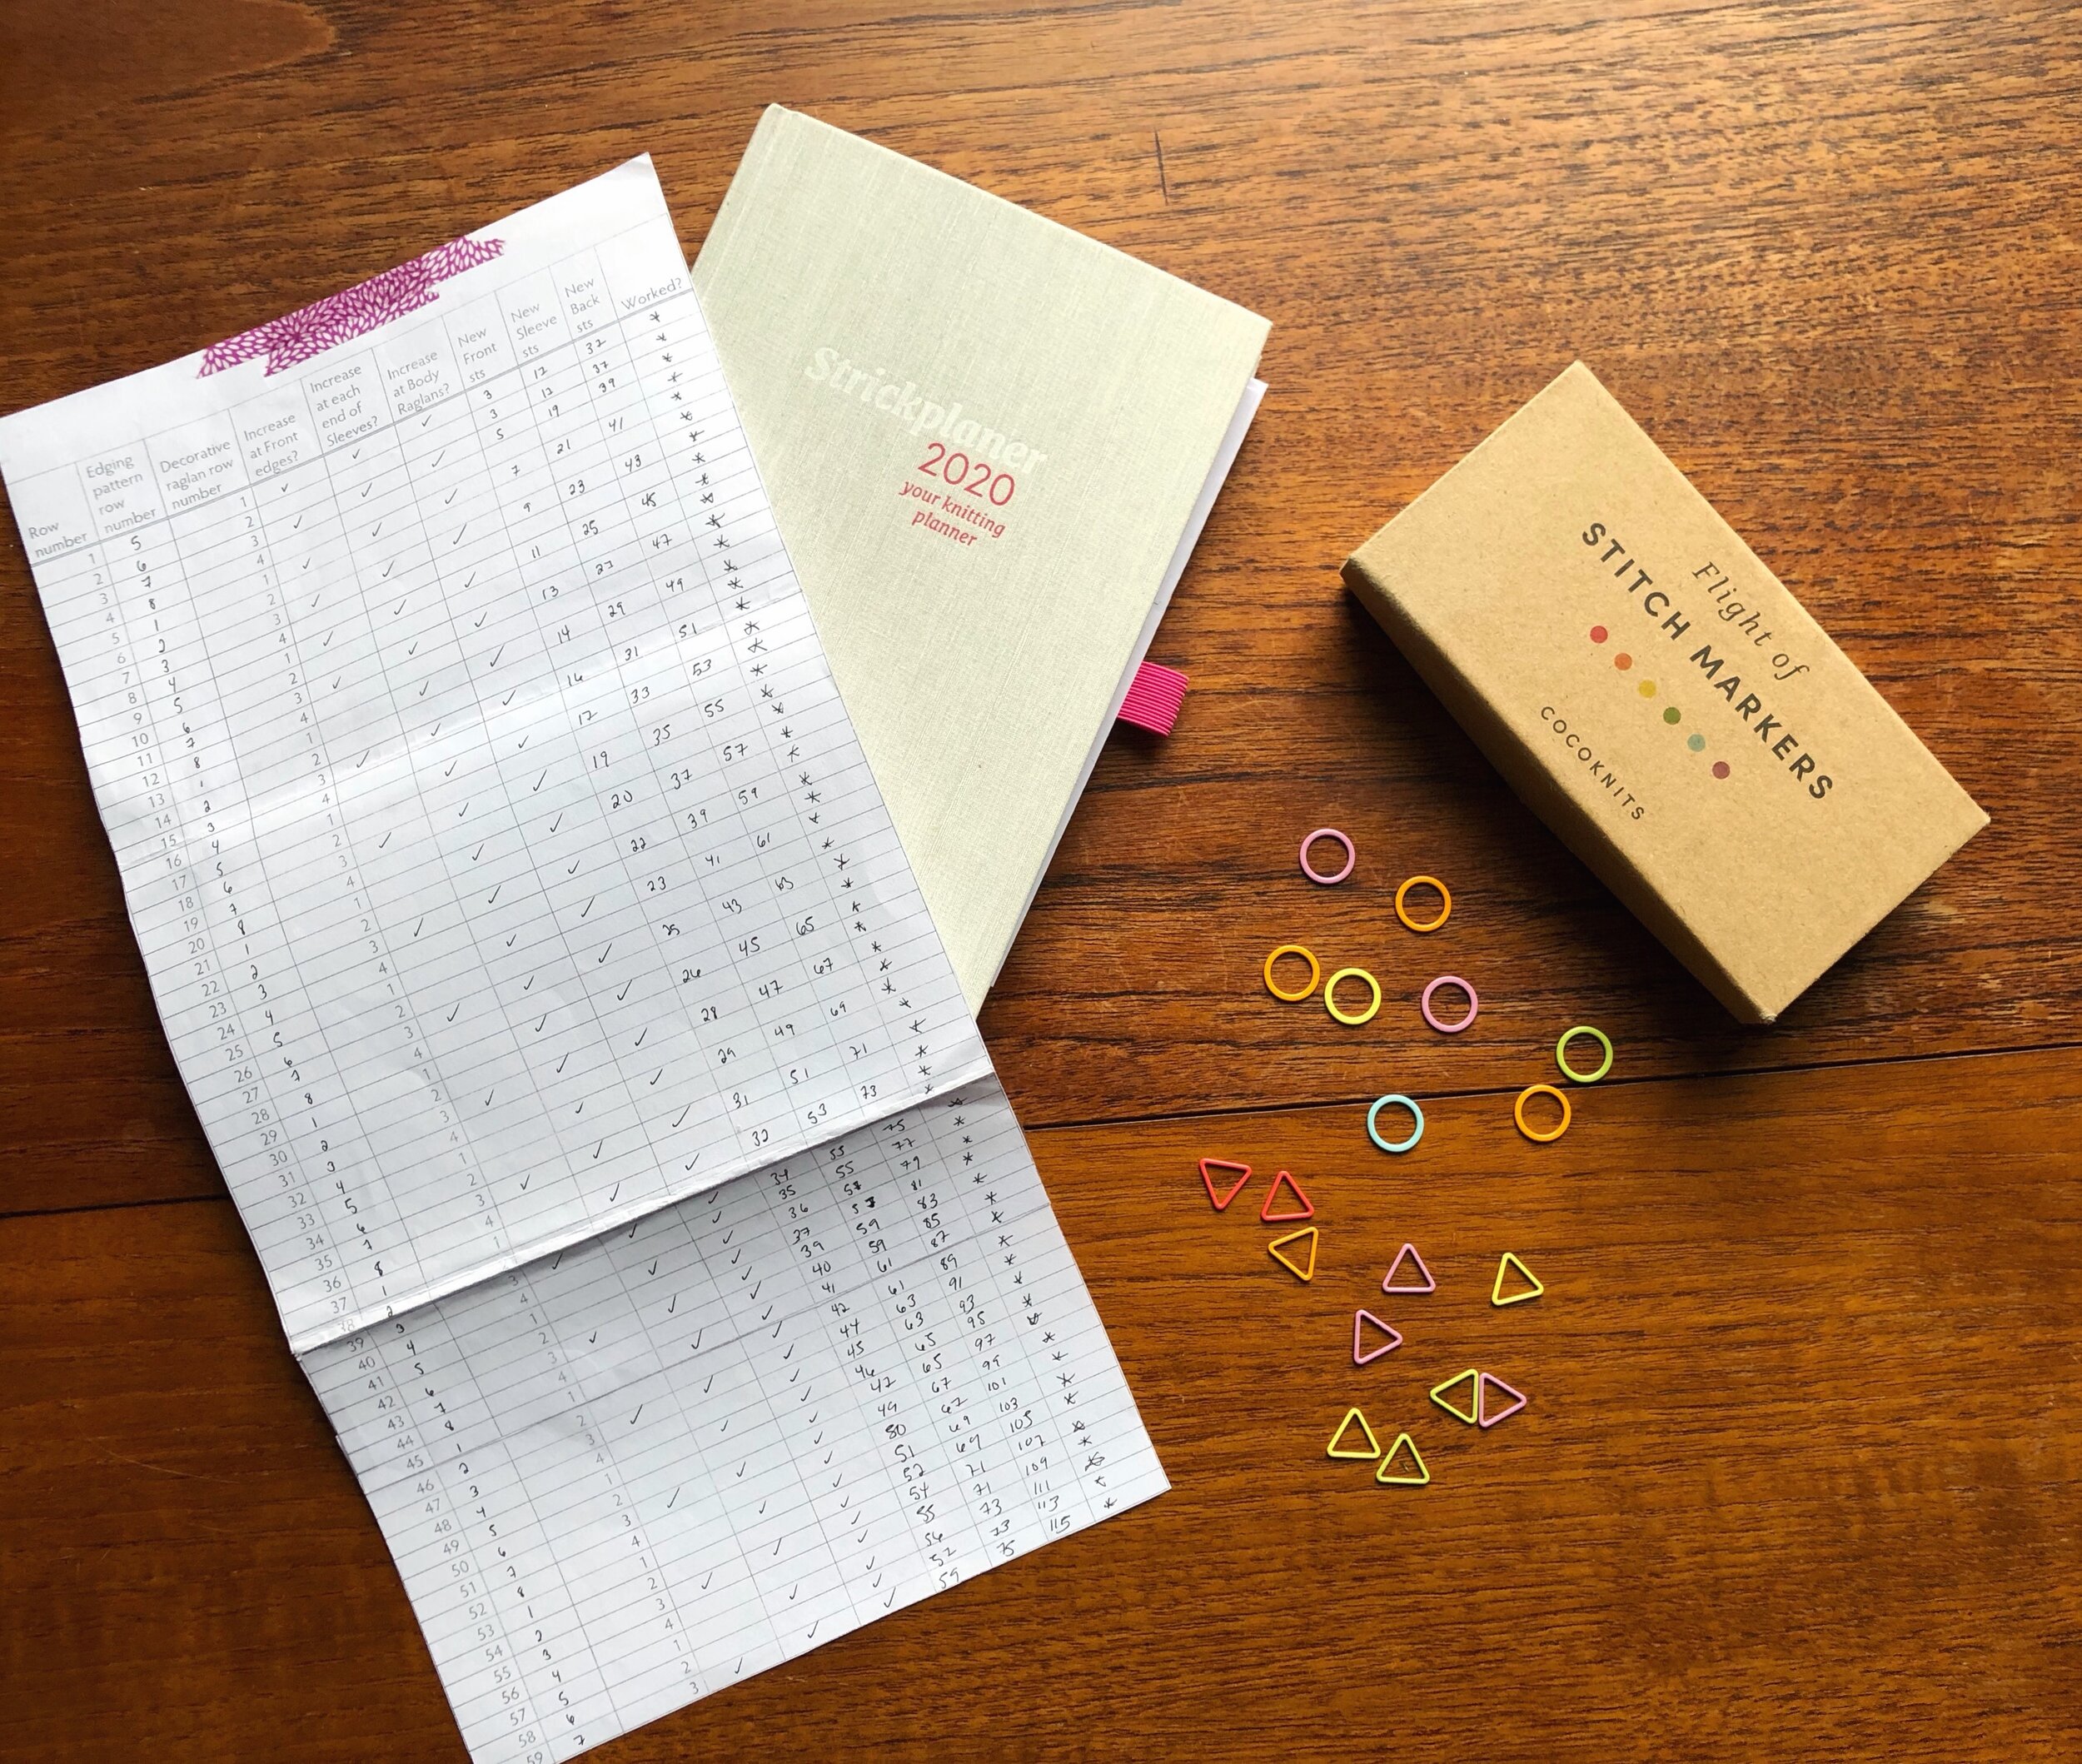
Writing out every row for every size of the yoke would make for clunky and impractical pattern writing … so, like many other garment patterns, the Conviviality Cardigan asks you to do these things at the same time, and keep track of them yourself. Unlike many patterns though, it includes a handy table + instructions to use it to help you in this task! Once filled in, you can easily see, for every row, what lace pattern row you’re on and what increases you’ll be working for your size.
Tools to keep track: my completed yoke chart, Strickplaner and Cocoknits stitch markers.
I really loved using my table. Even though I’ve been knitting on and off for over two decades, I’ve never set up a chart like this to track multiple things happening at the same time — it just never occurred to me! (I’m not sure how I managed before to be honest … I must have just kept multiple tallies going). After my first few rows were established, I found myself only having to quickly refer to my chart at the start of the row, then knitted blissfully on — I even worked on the yoke on Zoom calls! The chart also has space for you to keep track of your stitch counts — every few rounds, I double checked that I was still on the right track.
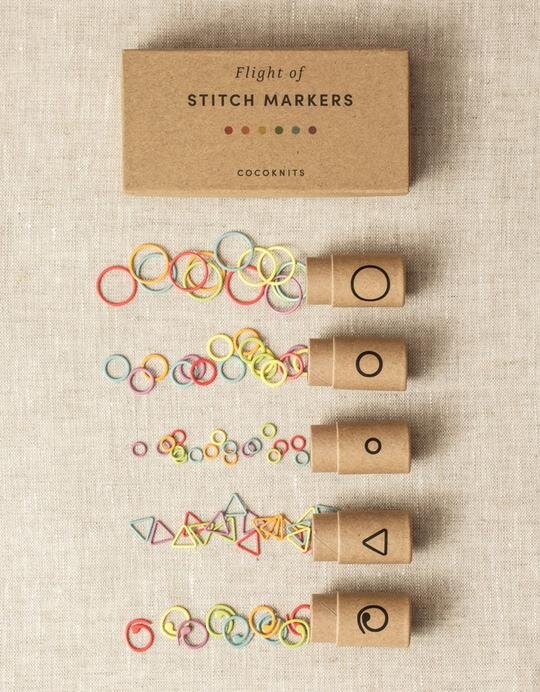
If you wanted some extra assurance, you could also use stitch markers of different colours and/or shapes to help you mark lace patterns/fronts/sleeves/back (the Cocoknits Flight of Stitch Markers would give you plenty of options!) The pattern includes a diagram of the yoke (pictured above), so if you were really organised, you could use coloured pens, pencils or highlighters to mark up the diagram to correspond to your markers!
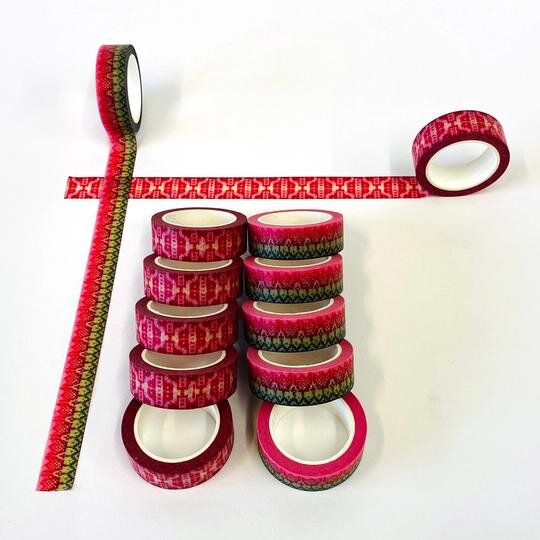
As I mentioned a few weeks ago, I used washi tape to attach my yoke chart and the lace charts into my Strickplaner for easy reference, meaning I actually didn’t have to refer to the pattern throughout the yoke knitting. This worked really well for me — and the motivation to tick off another row in my chart kept me motoring through the yoke! Having used the chart for my Conviviality Cardigan, I’ll now think to set up similar ones that next time I have a project that asks me to track multiple things at once.
Conviviality Yoke: Complete!
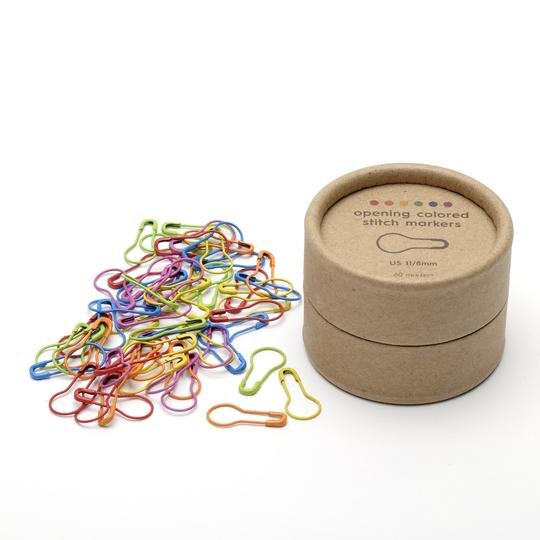
With the yoke finished, there is now less pattern management to be done — on the body, front edges to keep in pattern and a few increases to achieve the cardigan’s A-line silhouette; on the sleeves, a few decreases! I could tick off my rows/rounds in my Strickplaner as I go, but for this sort of straight forward tracking, I really like to use opening stitch markers like these ones. I pop them through my increased (or decreased) stitch, and then I can easily count how many rows/rounds I’ve worked to tell if it’s time to increase (or decrease) again. (Jen does something similar using a running thread and has a handy video tutorial to show you how). With the markers, I like that I don’t get to the end of a row and wonder “did I tick that one off?” I also find it really useful when working two matching things, like sleeves. If I go off piste at all on my first sleeve (say, altering the rate of decreases), when I come to my second, I can very easily see what I’ve done by referring to my little locked markers. So for simpler tracking, I try to do as much pattern management as I can on the project itself, so that if I forget to make a note or mislay (it doesn’t bear thinking) my Strickplaner, I can quickly and easily see what I’ve already done.
I’ve used opening (sometimes called locking or bulb) stitch markers to track decreases on another top down cardigan currently on my needles, Piosa by Renee Callahan. They’re one of my favourite knitting tools!
Our Something to Knit Together knitalong is still in full swing if you fancy joining in the fun. When you purchase the eBook, you’ll receive all four of Sarah Hatton’s smashing designs for the collection, supported with photo and video tutorials. There’s plenty of friendly chat and tips (and weekly prizes) over in the Ravelry group, where the official knitalong will be running through 23 September (though the threads never close, and I know many of us will still be knitting and chatting long after that!) We’d love for you to join us — and to hear about your favourite methods for keeping track of your knitting in the comments!
Featured Products (click any photo to head to the shop!):
Related Tutorial: Keeping Track of Your Rounds (YouTube video)


